The film can be viewed at the bottom of this post.
You probably already know this not-so-secret little secret, but films are pretty much never shot in order. We filmmakers like to take all of the scenes in a script and fold them into a fancy origami shape… maybe a swan or a turtle… and see how the numbers are auto-magically arranged once we’ve completed the paper beast. Well, okay, we actually have reasons for shooting scenes out of order that go beyond just playing with your mind, and they’re very good reasons. Here are just a few:
- Locations – You wouldn’t want to shoot a scene in Hong Kong, fly to Iceland for another scene, and fly back to Hong Kong for yet another scene. That would be insane! You would shoot your Hong Kong scenes and fly to Iceland when you’re finished.
- Actors – Sometimes certain actors are only available for a certain amount of time, so you have to schedule around them.
- Crew – Maybe you’re using a Steadicam operator for a scene, but he or she can only show up for Scene 3 on Tuesday. You don’t want to waste your week, so you shoot Scene 1 on Monday, Scene 3 on Tuesday, Scene 2 on Wednesday, and Scene 4 on Thursday.
- Seasons – If you start shooting in the fall, and Scene 15 is set in the fall but Scenes 1-14 are set in the winter, you’ll definitely be shooting Scene 15, asap!
- Lighting/Camera Orientation – Sometimes you have scenes that occur in the same place, and maybe you can even have access to that same place whenever you want. However, shooting in that place twice, on two different days, and setting up the same lighting all over again for something that happens later in your script would be utterly brainless (unless you simply had to, of course).
That list is only a fraction of the infinite number of reasons that you might need to shoot a film out of sequence. And in the case of “The Unkown” (film located at the bottom of this post), out of sequence was an absolute necessity.
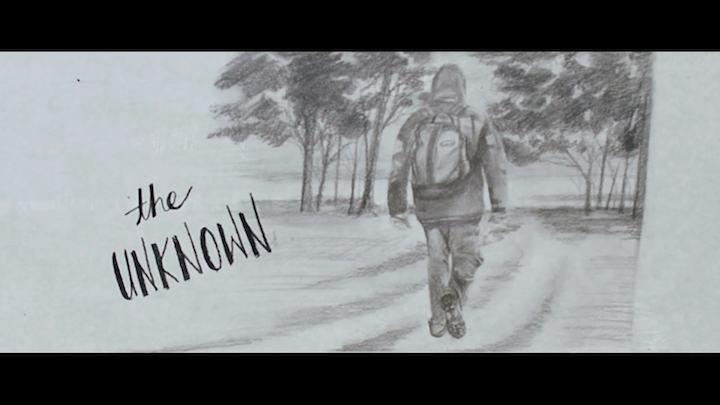
I knew that I wanted the amazing Paige Alcorn (super cool first name, obviously) to sketch a frame of the video, so that her sketch could suddenly come to life. The only way to make that happen was to shoot the footage of my buddy, Jimmy Wheeler, walking through the wilderness-ish area first. As soon as I had Jimmy locked in for a shooting day and time, I called Paige to schedule a shooting day and time with her.
Jimmy and I showed up at the location on a brutally cold (seriously, I mean it) Monday morning. I was using a RED Scarlet-X mounted to a DJI Ronin, which can be operated via an iPhone app, and my fingers became so frozen that I couldn’t even stretch my thumb across my phone’s screen with one hand. I had to tell Jimmy things like, “Press that button, please!” I think the temperature was in the teens and the windchill was in the single digits or something like that. It was rough!
We showed up at sunrise because the sun blasts through the little tree tunnel-looking thing, and I thought that would be a cool look. However, fog and low-flying clouds obscured my awesome sunrise, so we began shooting without that awesome sun. Once we had finished most of the shots, the sun finally did make a nicely diffused appearance, so with Jimmy’s consent we shot everything over again… in the freezing cold. It’s all about the light (What do you expect from me? I’m a cinematographer and biased toward light)!
With the footage shot, I pulled it into Premiere Pro CC and made a quick rough cut, which was necessary to see what frame I wanted to start the film on. I exported a TIFF image of that frame and wrote down the time code (just to be sure that I kept up with the right frame) and had Sarah Josovitz print it out at The Experience Community where Paige and I would be filming the timelapse of her sketch.
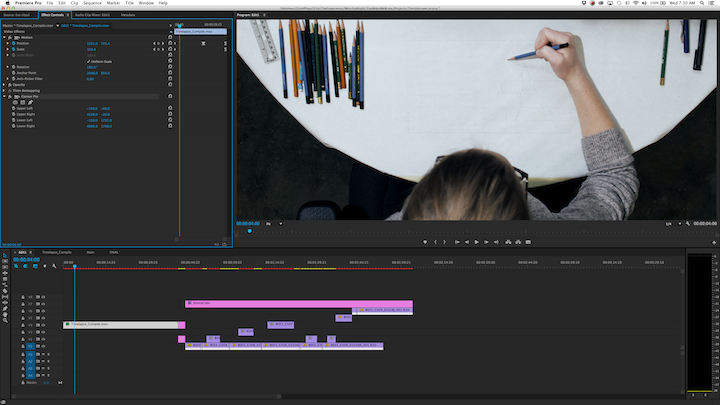
Even though I had the ability to securely do so, I was nervous about suspending 25+ pounds of camera rig over Paige’s head for the timelapse. Since we were finishing in 1080p HD, I used the Scarlet’s 4K to my advantage here by positioning it where I could easily rotate the image 180-degrees in post-production and animate a zoom into the drawing as she was sketching it.
I used a simple warping filter in Premiere to stretch the corners of the timelapse around to look like the camera was more straight overhead than it actually was. I also animated sharpening to increase as the image zoomed, matching the end sharpness to the beginning sharpness as best as I could. As far as camera settings go, it was just 4KWS at 12fps, which the camera conforms to 24p internally. Then, I sped it up quite a bit more in Premiere.
For some reason the “Frame Hold” feature in Premiere Pro seemed buggy to me, or maybe it was just convoluted. I found it easier to just export the last frame of the timelapse and the first frame of the color corrected footage (using my time code reference) as images and animate fade outs/ins that way.
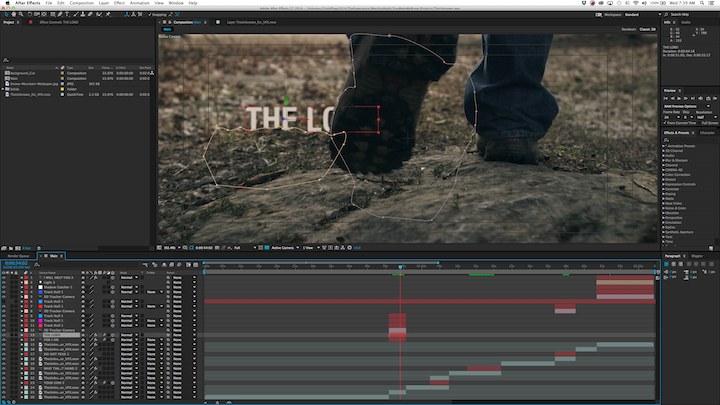
Then, of course, I had to animate the text. I was under a serious time constraint, so I made heavy use of the After Effects CC 3D Tracker and the Roto Brush, both of which worked like a dream! I still had to do frame by frame cleanup and masking, but the whole process was far more efficient with the Roto Brush feature. I absolutely love that thing!
Just like I mentioned in my Making Of “The Lion” blog post last week, the time constraints resulted in some quality sacrifices that had to be made, but overall, I was pleased with how this little film turned out. From the feedback I’ve received, I would say it was most people’s favorite of the four films screened at the “You Make Me Brave” Worship Night. It was a lot of work, but it was all worth the end result!


